Hello!
I'm back from my holiday ^_^
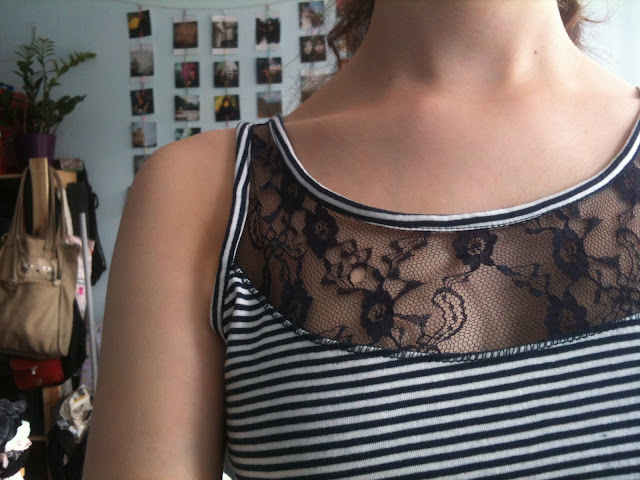
Before we left for Spain I had bought a nice top with lace detail on the top. Unfortunately there were some holes in the lace, but it was on sale so I didn't really care, I thought I would be able to fix it.
I decided to put a little red bow on top. This way you wouldn't notice the holes and it would add a nice pop of color to the top!
I decided to go with a 'perfect' handmade ribbon instead of a normal
knotted ribbon. Simply because it looks a lot more cleaner and pretty.
Left: handmade ribbon
Right: knotted ribbon
Here you can see the shirt with the hole. It's not that big, but it was just bothering me ;)
For the bow you will need three pieces of ribbon
- a little piece, about 3-4 cm (depends on the width of your ribbon)
- a middle piece, about 18 cm
- a long piece, about 35 cm
First, you take the middle piece
Create a loop by attaching the ends
Then, press down in the middle to create a bow
Sew together with a few stitches
Next, take the long piece
Fold it like shown in the photo, make sure both ends are equal length
Sew on the back of the bow
I cut the thread here, but really, it's easier to do this with one thread ;)
Then, take the short piece
Wrap it around the other pieces and sew together at the back of the bow
I needed to cut it a bit shorter to fit
Last step, sew onto your shirt/hole
I used a blanket stitch around the hole, so the hole wouldn't get any bigger
Extra step
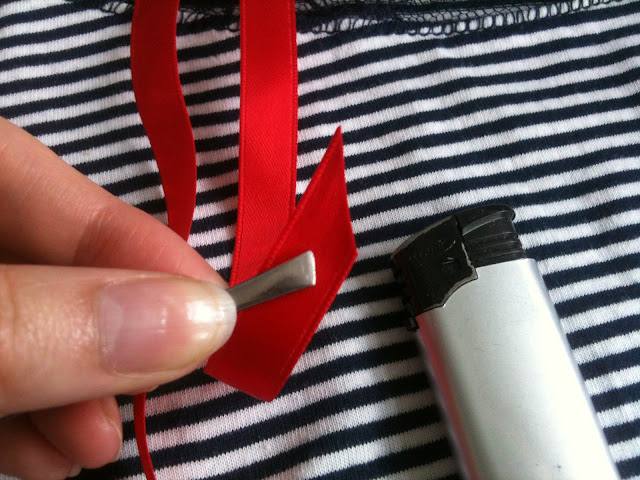
To finish of the raw edges of the ribbon, you can scorch them with a lighter
Use tweezers to hold the ribbon so you won't burn yourself
Hold the end in the flame, just for a short time!
Before you do this on your finished product you should test a piece
If it doesn't look pretty, just cut it off and try again ;)
Yay! you have made your top just a little more special :)
This is also perfect for tops without holes, or bags, or maybe even a hair accessory!
I hope you liked this tutorial, see you next time! ^O^
Xx
Anne Lien


What a great idea, it's adorable!
BeantwoordenVerwijderenThank you! :)
Verwijderen